In July I had planned to write a blog on Keum-Boo, however, when I got around to writing it in August it became quite long.

I therefore divided it into three different ones: The first was about Hallmarking (Blog 7), the second (Blog 8) about the Keum-Boo process and this, the third, is on the subject of gold plating.
Both issues of hallmarking and gold plating are relevant to discussing Keum-Boo and I wanted to explain my thoughts on this.
Gold Plating Process
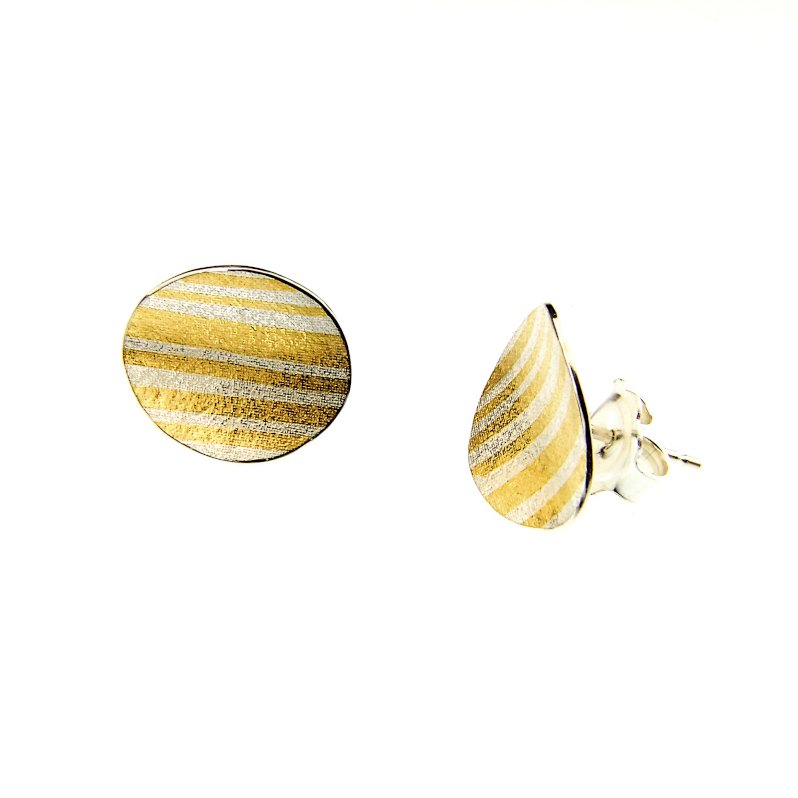
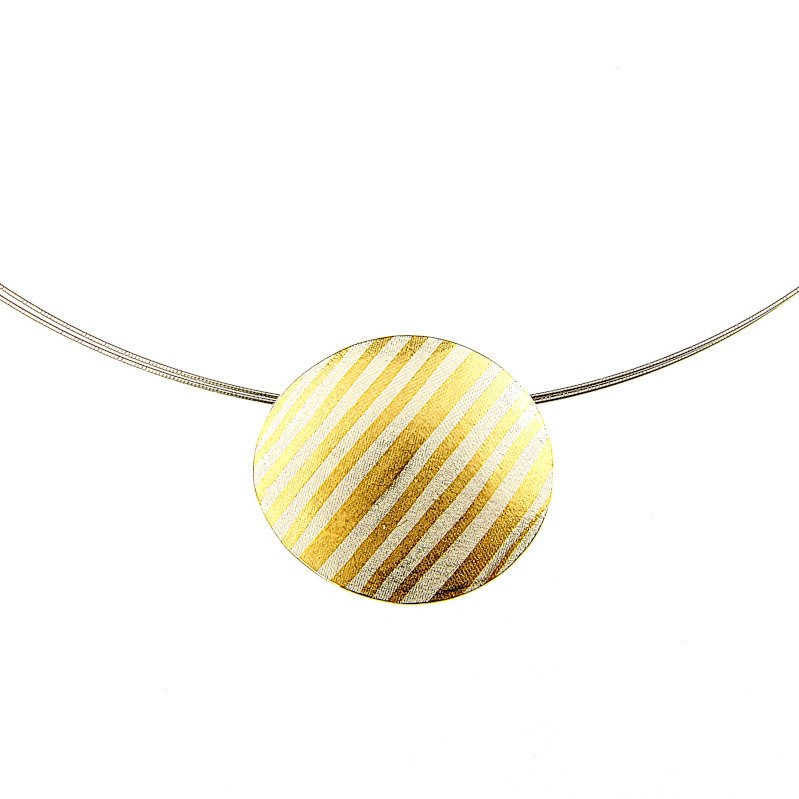
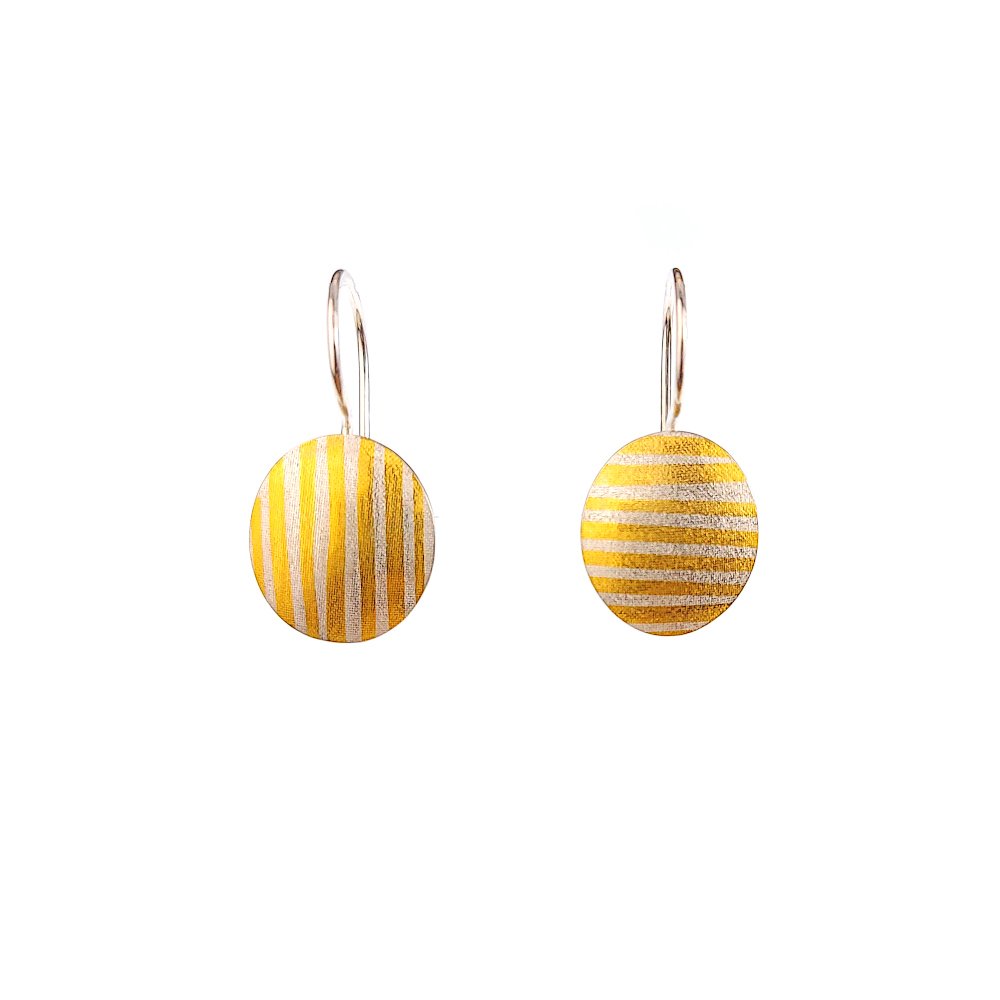
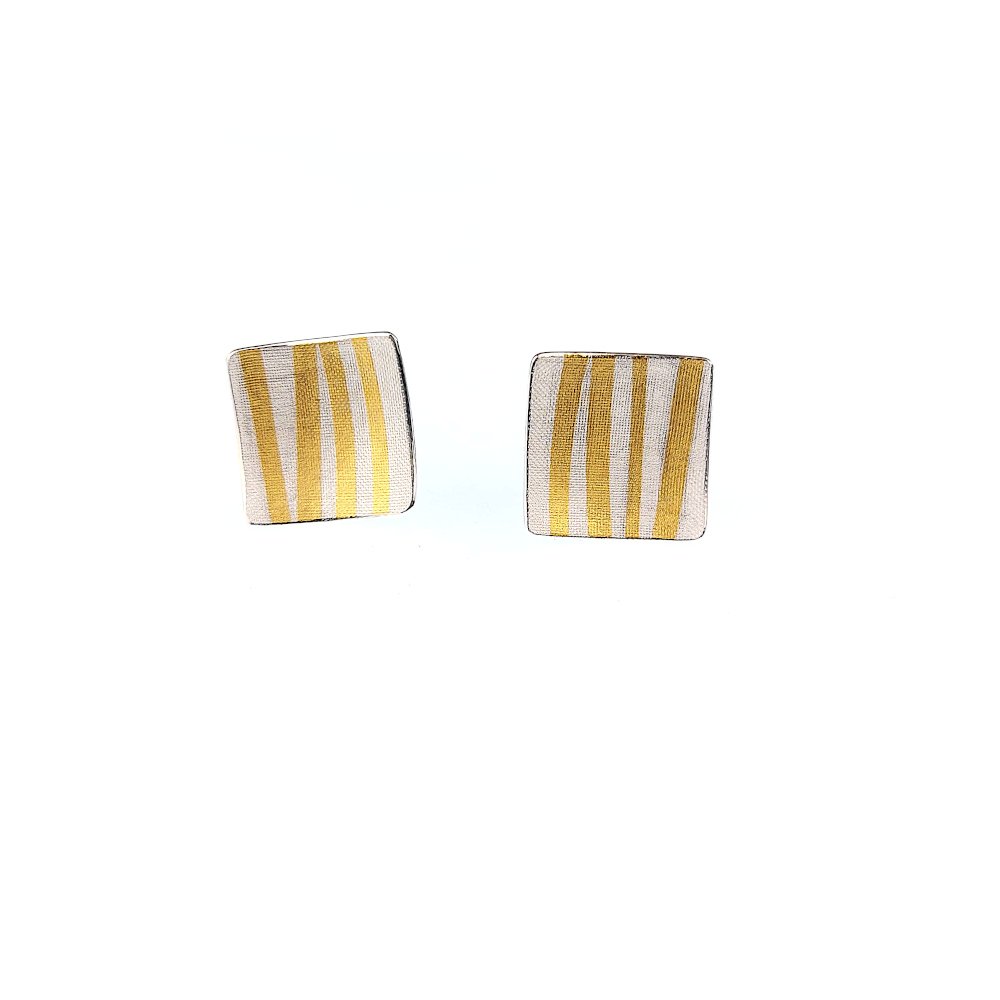
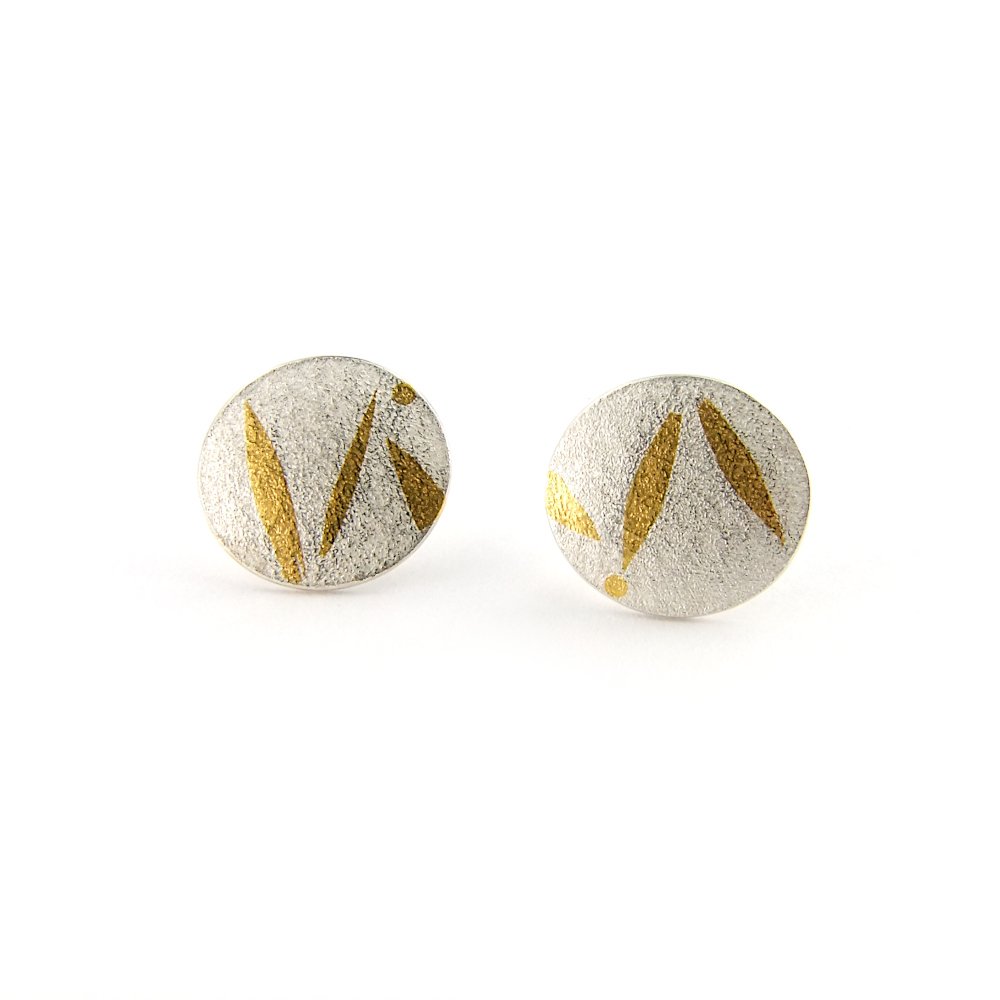
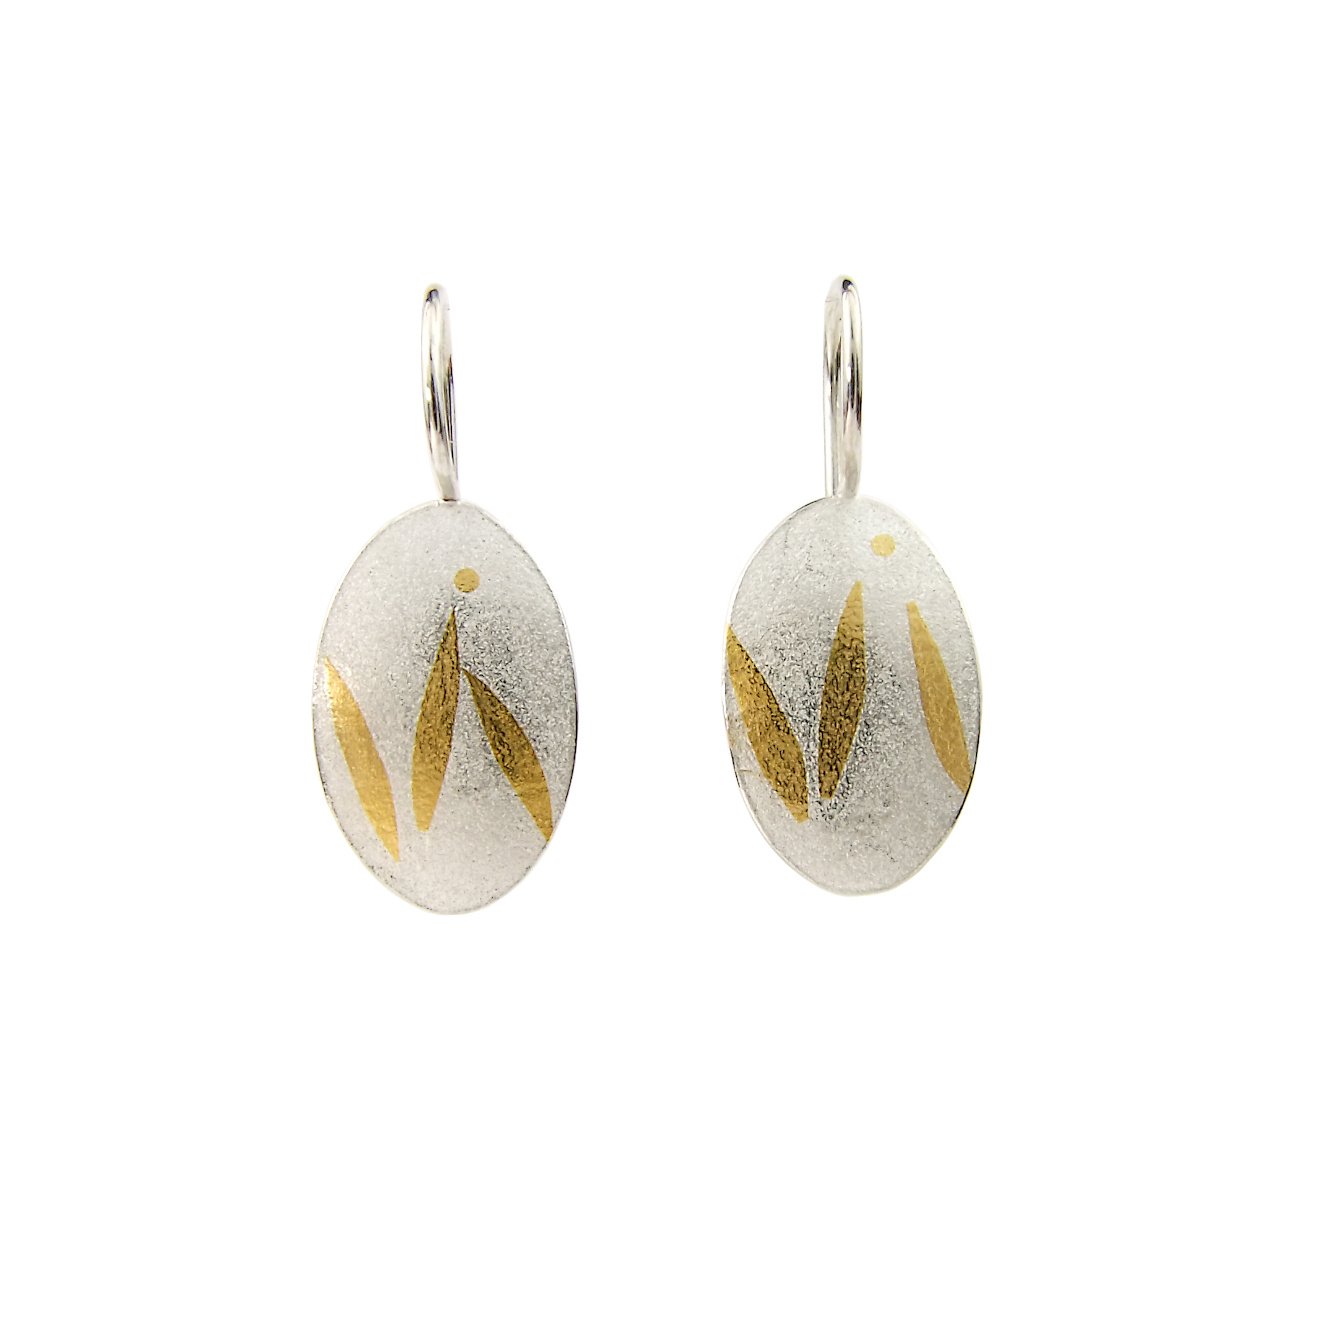
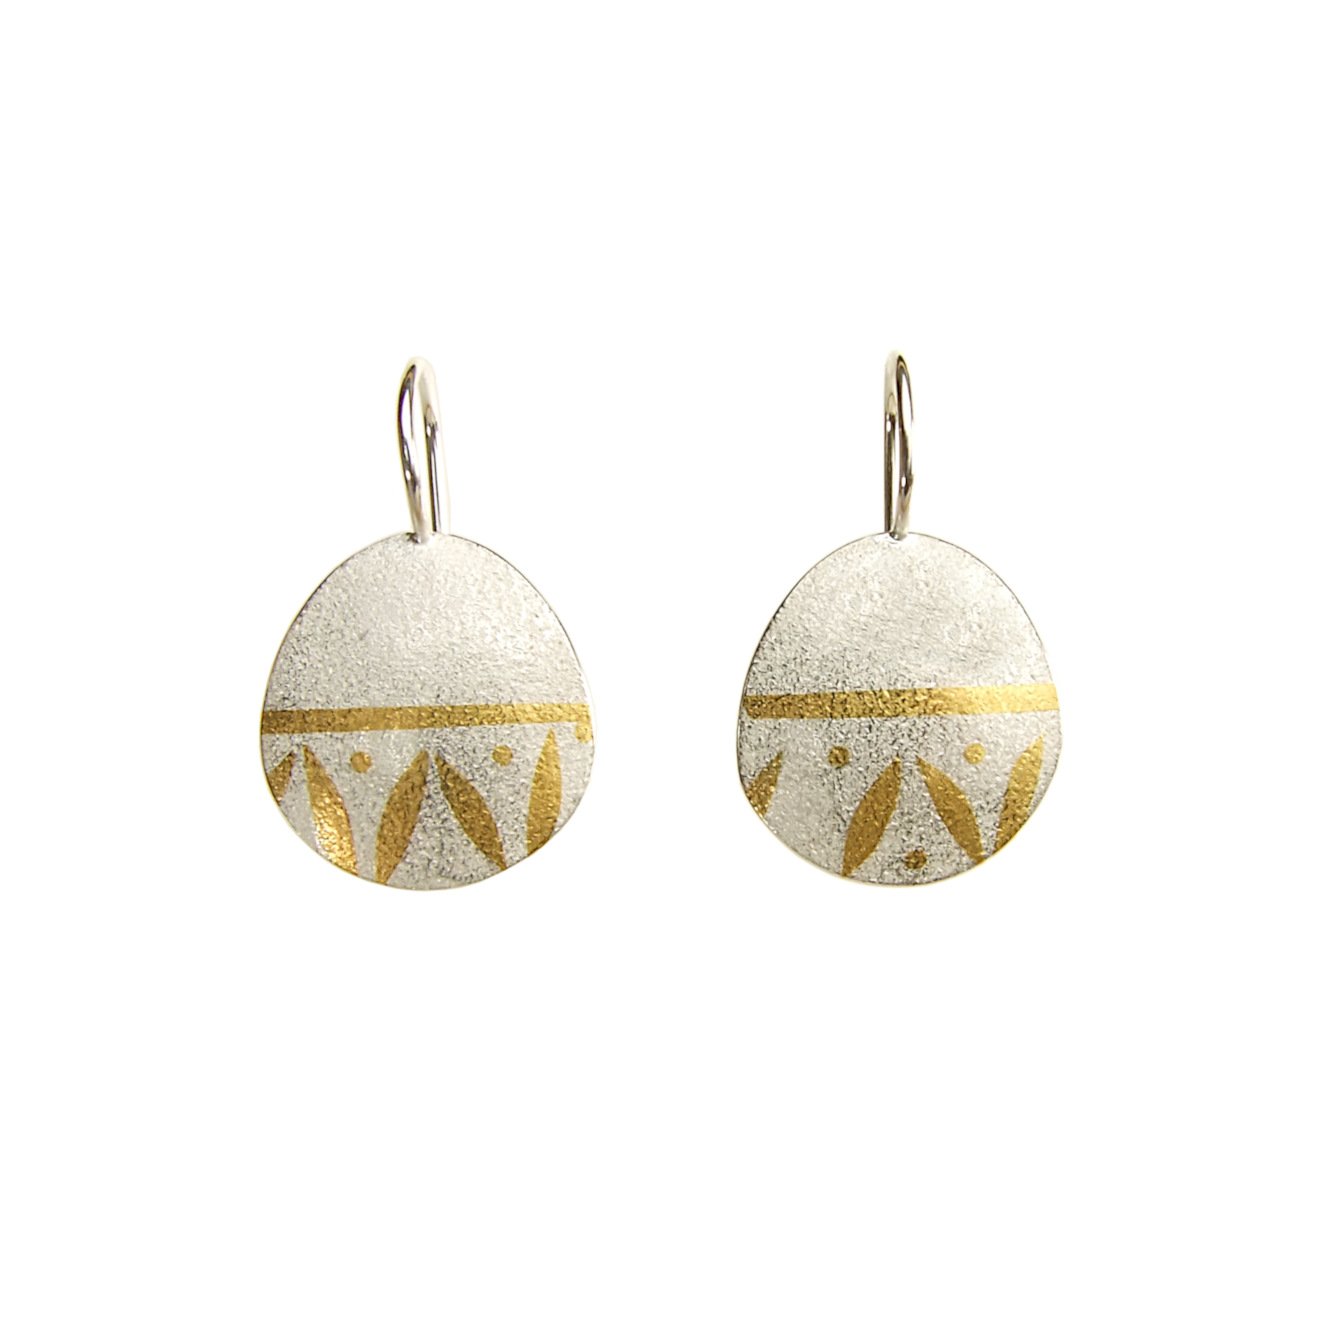
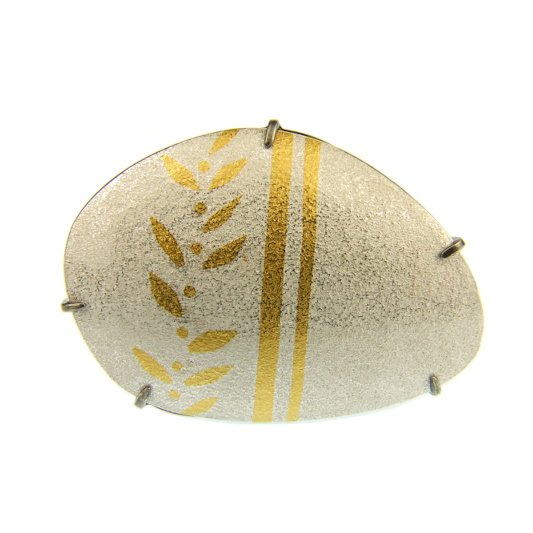
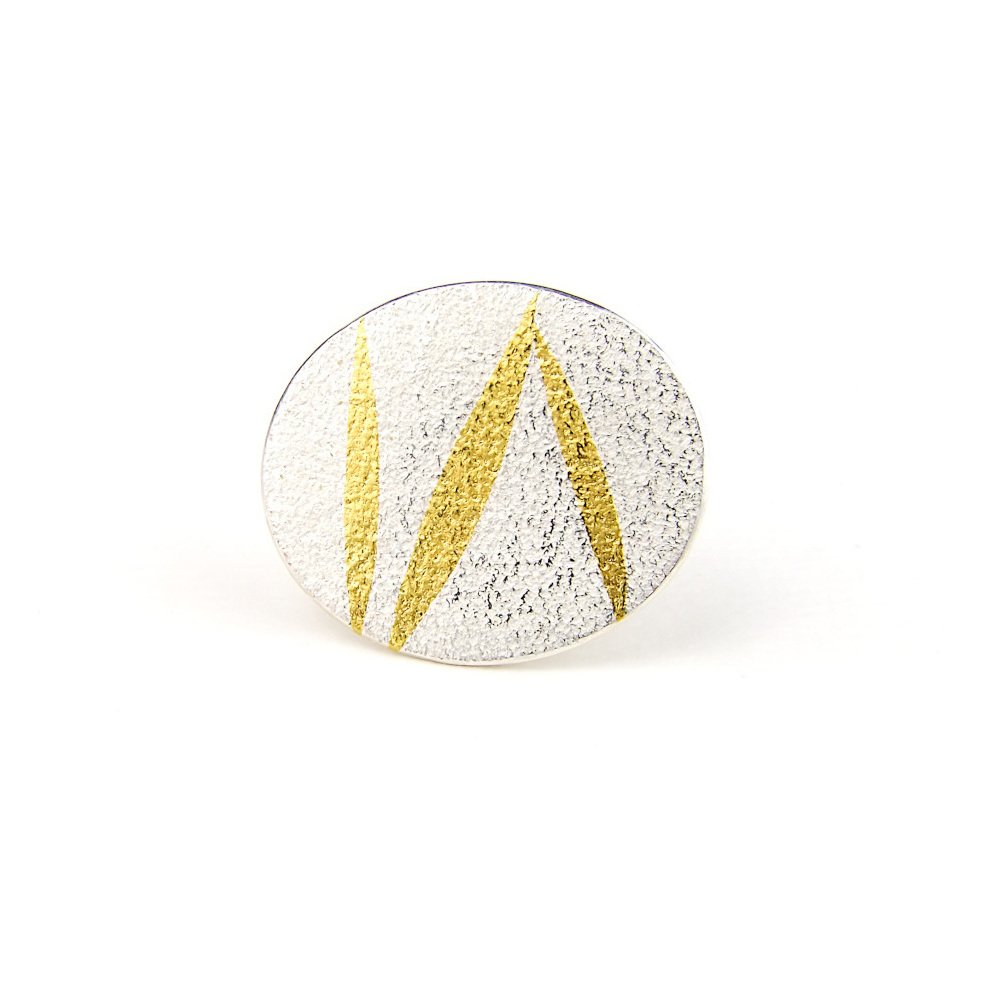
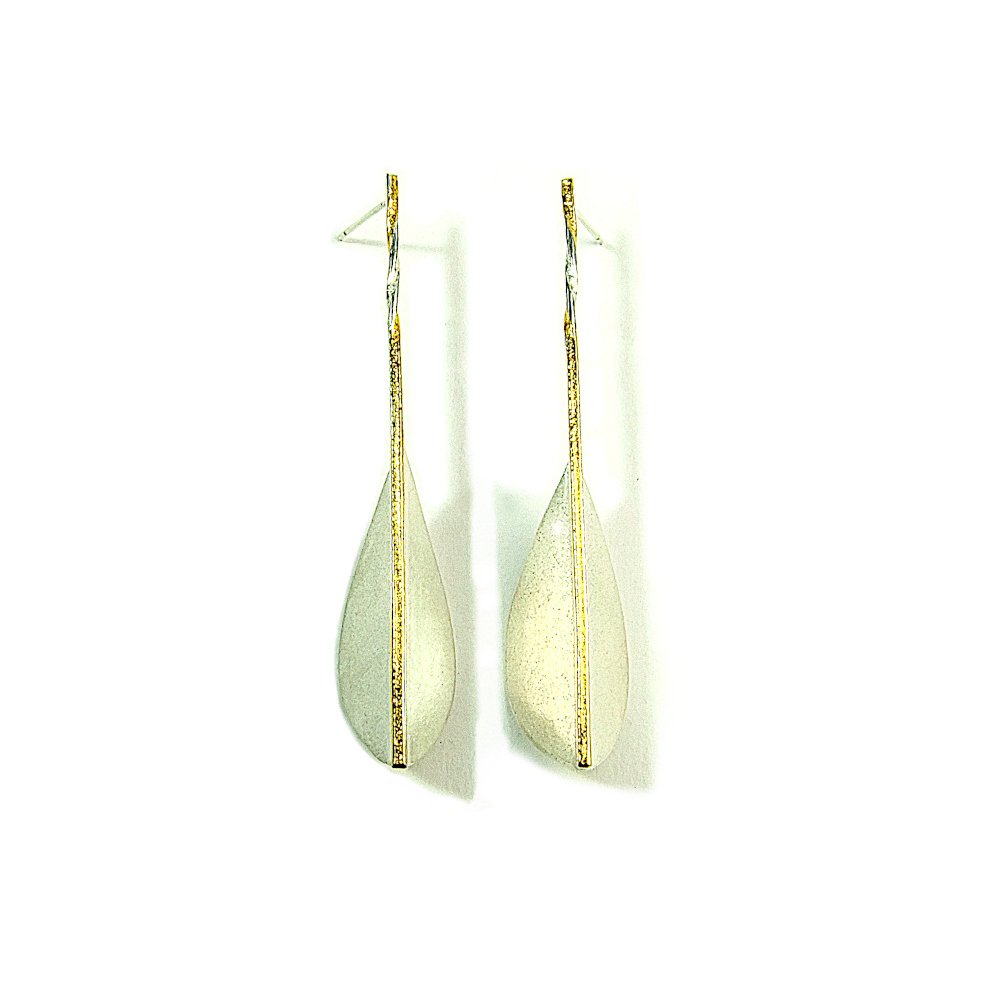
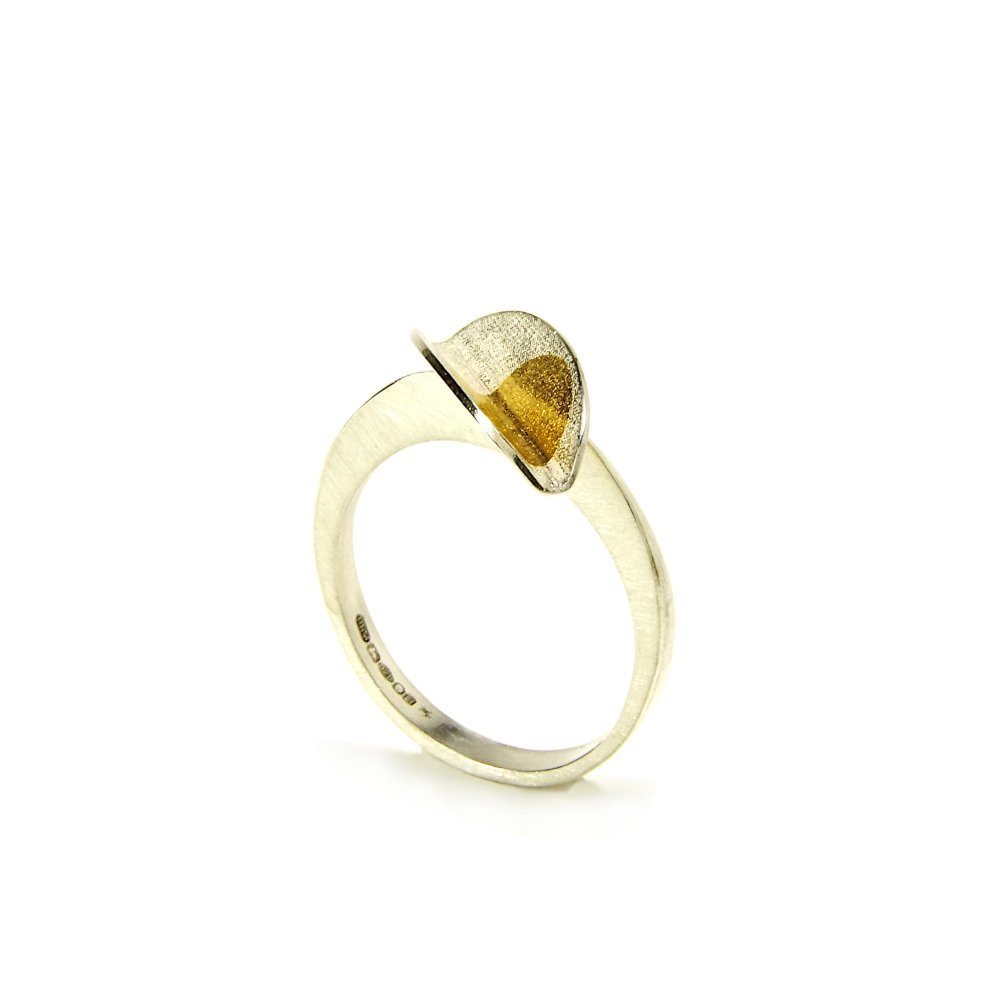
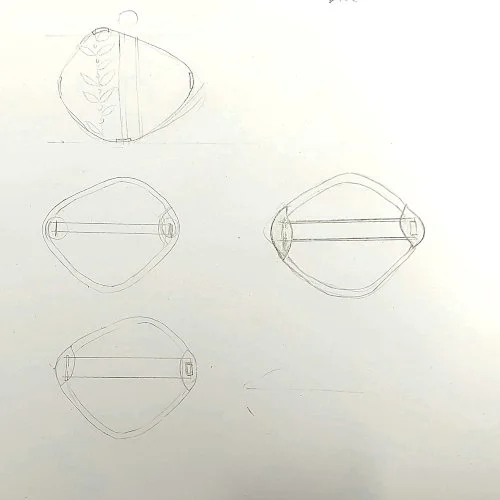
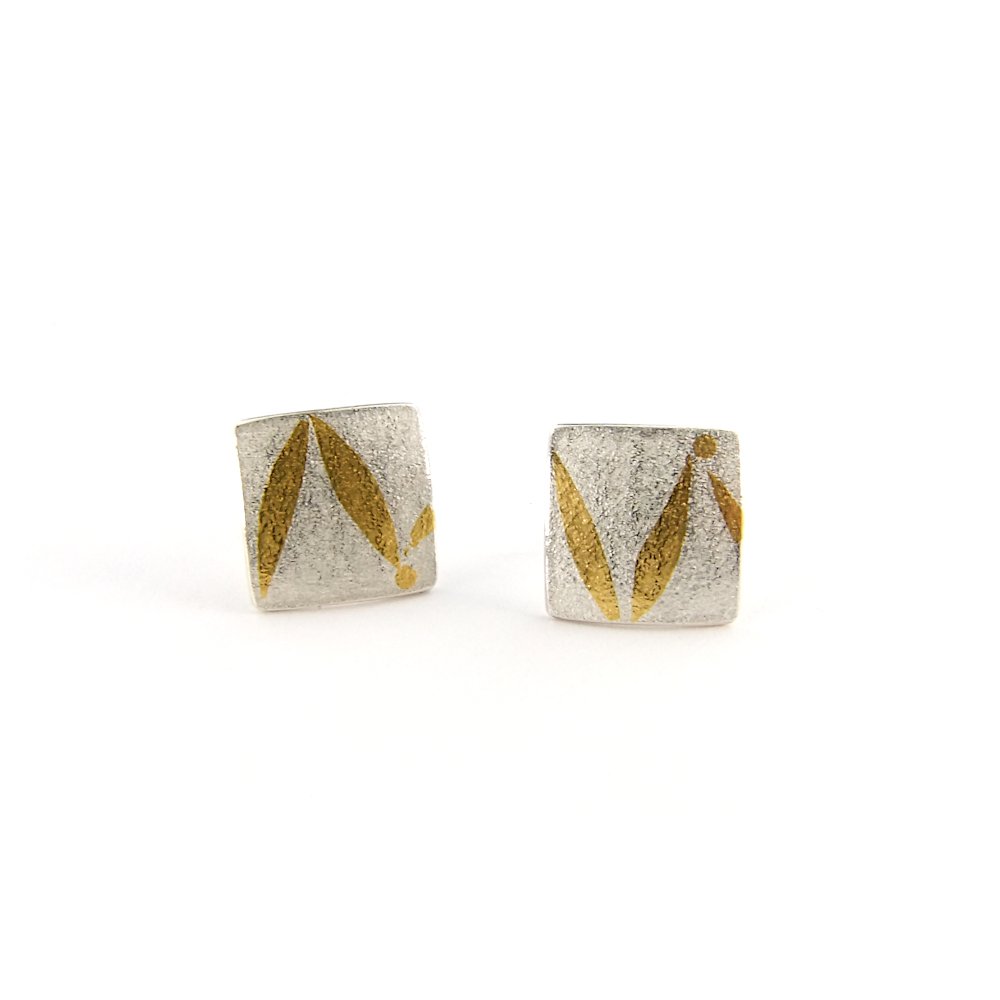
An oval brooch and ear studs from my current collection using the Keum-Boo technique.
Plating is an electrochemical process in which a thin layer of a chosen metal is deposited onto a base metal. Most often plating is done in gold, but is also done in rhodium or non-precious metals which may be applied as an undercoat before the gold is applied. In this blog I will mainly concentrate on gold plating.
The thickness of this plated metal layer can vary and is measured in micrometres, or short microns.
1 micron (1 μm) = 0.001 mm (As a comparison, a human hair is circa 75 μm thick.)
Before any gold plating can be done, the piece has to be thoroughly cleaned in various stages and this involves solvents and abrasive processes, after which the piece is dipped in hydrochloric acid. The now thoroughly clean piece is then lowered into a bath containing metal salts. This is the actual plating process:
“An electric current is placed through this bath and is directed at the object. The current helps to dissolve the metal molecules and deposit them onto the object in the bath. The longer items are left in the bath with the current, the thicker the plating level will be.”[1]

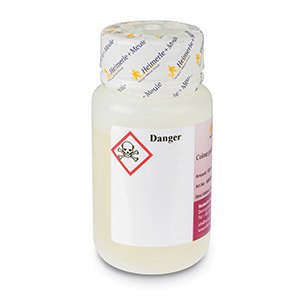
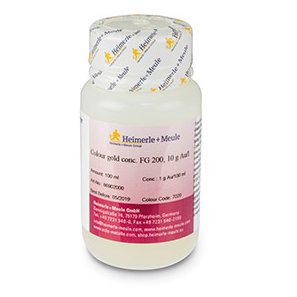
The metal salts used in this solution are created by combining metals and acids. The neutralising reaction of an acid and a base results in metal salts. As acids Aqua regia (a mixture of hydrochloric acid and nitric acid) or Potassium gold cyanide can be used (see image on the left). When gold is dissolved in Aqua regia toxic fumes are created as a by-product. Potassium gold cyanide is highly toxic and its handling can result in poisoning through contact with eyes or skin and through inhalation or ingestion.
Disposal of these toxic acids is difficult and problematic for the environment.
In one of my past collections I used a specialist to have my pieces gold and rhodium plated. However, becoming aware of the environmental impact of gold plating I wanted to avoid this process altogether and so I looked for alternatives.
After some research I came across the Korean Keum-Boo technique and liked its straight forward process, the potential it offered for creating patterns but also, most importantly, that it appeared to be a clean process.[2]
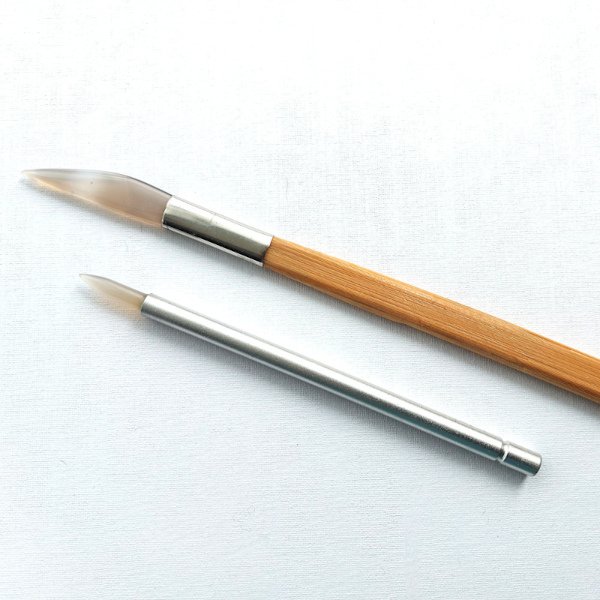
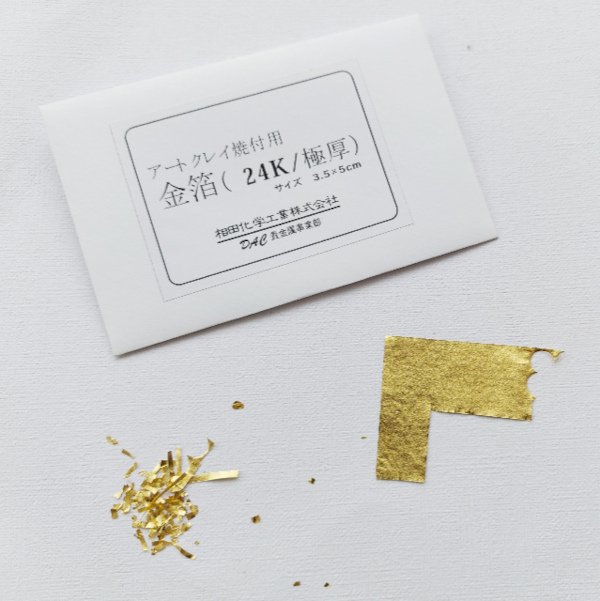
In simple terms, the Keum-Boo process describes the bonding of 24ct gold foil (which is 13 microns thick) through heat and pressure to silver.[3]
Gold Plating Names and Thicknesses
In my previous Blog 7 on Hallmarking I noted that in the UK silver articles containing gold can only be hallmarked as containing gold when the gold layer is above 100 microns.[4]

Consequently, the Hallmarking Act does not distinguish between the different thicknesses of the gold plated layer. Whether the gold layer is 0.175 microns or, as in Keum-Boo, 13 microns – both are regarded as plating.
This has a bearing on my pieces in which I use Keum-Boo. As the gold layer is 13 microns thick – well below the required 100 microns - they can only be hallmarked as silver.
As the price of gold has risen over the years, jewellery made from solid gold is unaffordable for many. Adding a thin layer of gold over a base metal to give the appearance of gold but without the high price is therefore a very attractive option for many customers.
It can, however, be very confusing to distinguish between the different labels used by jewellers to describe their gold-plated pieces. They may come across words such as, Vermeil, Rolled Gold, Gold-filled, heavy gold plating, flash plating and of course Keum-Boo. Below, therefore, a brief explanation of the different terms:
Beforehand, however, a few notes to explain various differences.
Base material
As described above, in the gold plating process, the gold layer is added over a base metal. In cheap pieces the base metal is often copper, brass, zinc, etc., whilst in more expensive items it tends to be silver. Plating is also often applied to a gold base – a good example here are white gold rings which are plated with rhodium to give them the white lustre so desired.
Plating thickness
Different pieces of jewellery are plated in different thicknesses, dependent on their use. Pieces that are subject to greater wear and tear, for example rings, are plated more heavily, whilst earrings have a thinner coating. Earrings are typically plated with 0.175 - 1 microns, necklaces usually with 2 microns and rings with 3 - 5 microns.
When buying jewellery, it is worth bearing in mind that plating rubs off eventually and this is especially so for pieces that have to withstand a lot of wear and tear, for example rings and especially wedding rings. When the plating rubs off, the base metal is revealed and the piece has to be re-plated to restore its original beauty.
Legal requirements of gold plating
Countries have different legal requirements when it comes to hallmarking and the description of gold plated articles. This can be quite a confusing aspect when shopping online for jewellery as it may not be immediately clear where the company is based (and what the legal requirements there are), or whether the customers of a particular company are mainly based in another country.
I have, for example, come across online companies based in the UK, which also trade abroad. Their description of certain gold-filled articles states the adherence to certain legal requirements which - although they may apply in countries, such as the US - clearly do not exist in the UK.
Whilst in countries, such as the US and Canada, the use of certain words describing plating is defined by law, there are no such requirements in the UK. In a conversation with a specialist from the Birmingham Assay Office, the gentleman explained that there is no legal minimum or maximum thickness when it comes to plating.
There are, however, regulations as to how a piece can be hallmarked and described and this must be done so as to avoid any confusion for the customer. In the UK, all gold layers under 100 microns are regarded as plating and therefore cannot be hallmarked as gold.[5]
Vermeil
The word Vermeil is used to describe gold-plated articles. Whilst in the UK there are no such legal requirements, in the US this word can only be used to describe pieces of jewellery that are made of silver and which have been plated with a thickness of at least 2.5 microns and with at least 10ct gold.[6]
Gold-Filled or Rolled Gold
The term gold-filled or rolled gold is a little confusing. The metal is not literally ‘filled’ with gold but a layer of gold is mechanically bonded to the base metal. This base metal is usually brass and the gold layer can be of any gold alloy, but is often 14ct gold.
Again, US laws define the legal gold content of such articles which are to be sold in the US. The thickness of the gold layer is not given in microns but is expressed as a ratio of the overall weight of the piece. The gold content of a gold-filled item has to be 1/20 of the whole weight or, in other words, 5% of the total weight of the metal item.
This is quite a confusing method of describing the thickness of the gold layer and attempts to calculate the actual thickness concluded that the gold contents of the layer would roughly equate to the layer of gold in the Keum-Boo technique.[7] The fact remains that the base layer is brass, which is an alloy of copper (66%) and zinc (34%), chosen presumably because of the similar colour to gold which would hide any partial wear of the gold layer.
Due to the complex manufacturing process of gold-filled metals, articles made from this material are usually mass-produced.
Gold-filled jewellery can be hallmarked in the US – not the UK – and the hallmark would read, for example: 14K 1/20 GF. This would translate as follows: the piece is coated with a layer of 14ct gold to a thickness of 1/20 of its total weight, i.e. is Gold-Filled.
Heavy gold plating
This term refers to the thickness of the gold plated layer, specifically a thickness above circa 2.5 microns.
Flash plating
Flash plating is an extremely thin layer of gold that would wear off very quickly and refers to a thickness of less than 0.125 microns.
Silver gilt
Silver gilt or gilded silver refers to the coating of silver with a fine layer of gold. It is often interchangeably used with the word ‘vermeil’, mentioned above. The word ‘gilding’ is also used to describe the covering of various other materials (wood, ceramic, metal) with gold leaf. Gold leaf refers to ~23ct gold with a thickness of circa 0.125 microns.
Fast Jewellery

Photo of costume jewellery by Martin de Arriba on Unsplash
Considering the above, it is important to note that gold plating also has a significant environmental impact – in addition to the toxic chemicals used in the process - through its role in the creation of fast jewellery. Fast jewellery describes cheap jewellery sold by High Street chains, which imitate more expensive items, for example, by being gold-plated.
Ruth MacGilp who wrote this article for Eco Warrior Princess, an online media brand, sums up the problematic nature of fast jewellery:
“Despite this progress towards more conscious collections, ultimately fast jewellery by its very definition is about quantity over quality. With ‘drops’ of shiny new pieces every week and prices lower than a cup of coffee, we’re lured into the familiar trap of hyperconsumption. Our broken tortoiseshell earrings and tangled pendants simply pile up in landfill, soon to be replaced with something more worthy of the Instagram like button.”[8]
To illustrate the above, I did a quick online search of the jewellery section of a well-known High Street fashion brand and found a pack of nine gold-coloured rings for £6.99. Information about the materials used was not very detailed. It stated they were: Metal 55%, Steel 45%. This does not make any sense to me, nor is it particularly helpful.
One can expect the thin gold layer of these rings to rub off in a matter of weeks, after which the rings will probably be never worn again. Unethical, non-transparent working conditions or processes during the manufacture of these pieces further add to the problem.
Keum-Boo vs Gold plating
In summary, it is clear from the above that there are serious concerns with gold plating. From the use of toxic chemicals, such as Potassium gold cyanide, to its environmental impact through the creation of Fast Jewellery, gold plating plays a huge role in how the jewellery industry affects the environment.
How does the Keum-Boo technique that I use in my pieces compare to gold plating? I believe the advantages of this technique over the plating process are as follows:


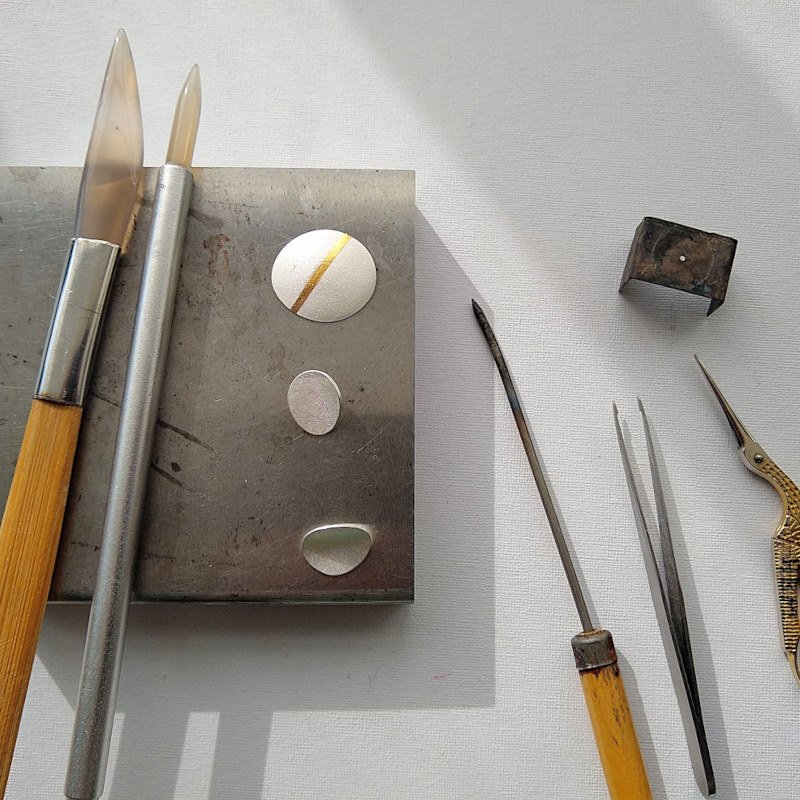
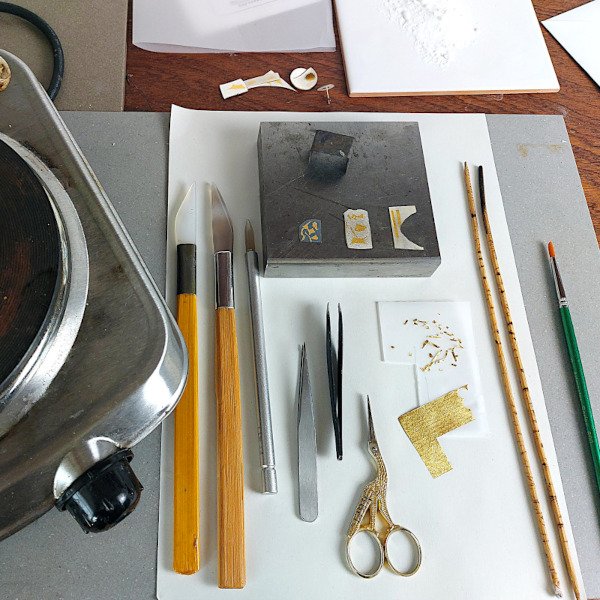
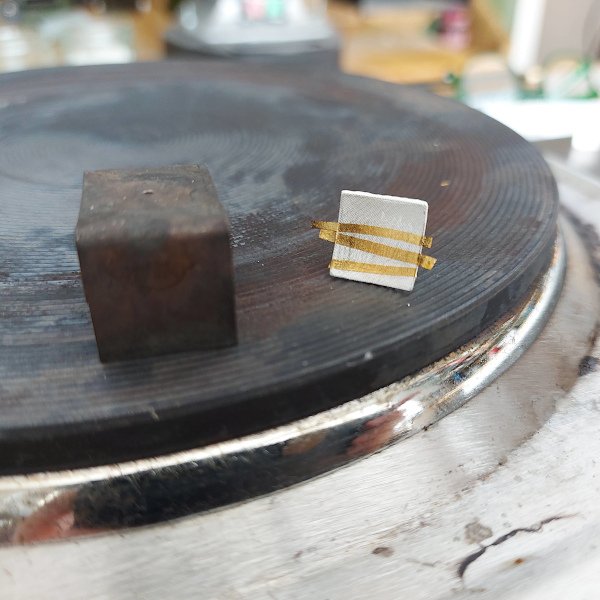
The Keum-Boo process[9] has very little impact on the environment. The chemicals I use in this technique are baking soda, methylated spirit, pumice powder and citric acid (which I use as my jeweller’s pickle).
The required heat comes from an electric hot-plate and the necessary pressure from the agate burnisher and my hand.
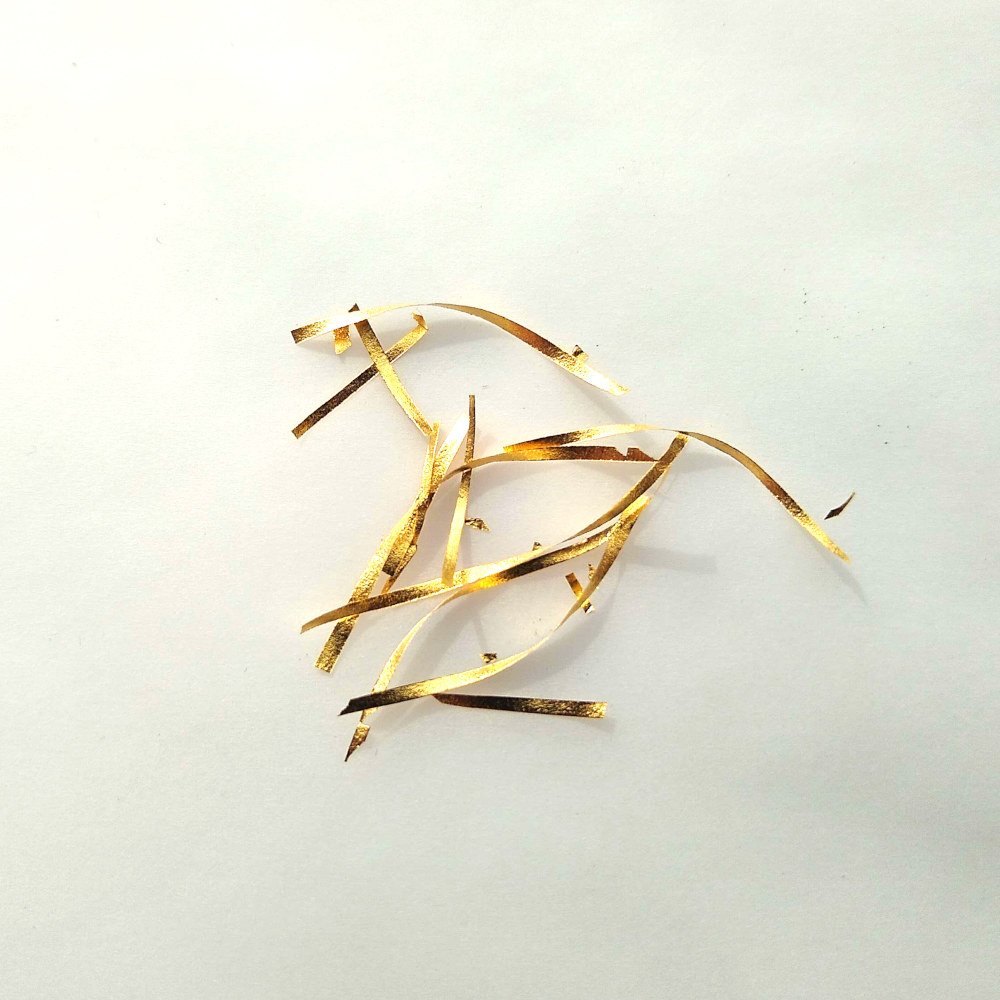
The 24ct gold foil I use in this process originates from a Japanese company which recycles gold from the dental and electronics industries.
The gold foil is 13 microns thick – up to 10 times thicker than standard gold plating. This thickness ensures that the gold layer will not rub off easily and will last a long time.
When designing the piece and the patterns thereon, I pay special attention to the wear and tear of the item. For example, I would not add the gold foil on such parts that are subject to a lot of wear and tear, such as ring shanks where the gold would rub over time.
Whilst the process of this technique can be compared to gold-filled or rolled gold, my pieces are made from either recycled Sterling Silver or recycled Fine Silver and not brass as in gold-filled articles.
Whilst I would be able to cover an entire piece in gold foil with the Keum-Boo technique, the main reason for using this technique is that it gives me the artistic freedom to create patterns on my pieces using the beautiful colours of both metals, which are otherwise difficult to create. Gold plating could not achieve this.
The jewellery I create is made by myself in my own studio and I try to be as transparent and eco-friendly as I can in my working practices.
I make small collections or one-off pieces and each piece is made so that its design and materials can speak for themselves and will stand the test of time.
Thank you for reading! I hope this information was useful. If you have any comments or question, do let me know.


Examples of pieces from my current collection Interrupted Patterns in which I use the Keum-Boo technique. Click on the images for further information.
[1] https://sciencing.com/causes-gold-discoloration-6158003.html
[2] Read my Blog 6 ‘Interrupted Patterns’ on the significance of patterns in my most recent collection.
[3] For a more detailed description see Blog 8 on Keum-Boo.
[4] In such cases, along with the silver hallmark, a part-mark will be applied to the piece, stating the hallmark of the second metal.
[5] See here my Blog 7 on Hallmarking, contact any of the Assay Offices or see the Guidance Notes on Hallmarking.
[6] The US Code of Federal Regulations 16, Part 23.4 on the Misuse of the Word ‘Vermeil’ states “(b) An industry product may be described or marked as “vermeil” if it consists of a base of sterling silver coated or plated on all significant surfaces with gold, or gold alloy of not less than 10 karat fineness, that is of reasonable durability 33 and a minimum thickness throughout equivalent to two and one half (2 1/2) microns (or approximately 100/1,000,000ths of an inch) of fine gold.”
[7] The calculations are further complicated by the different special gravity of the base materials (to calculate weight) and the use of different gold alloys in the comparison. Keum-Boo uses 24ct gold, 13μm thick over a silver base; whilst gold-filled articles use, for example, 14ct gold over a brass base.
[8] https://ecowarriorprincess.net/2020/06/fast-jewellery-true-cost-of-costume-ethical-pieces/ (Ruth MacGilp, 16 June 2020)