Argentium Silver, January 2025: As written in my Vision, Values, Mission, I used Argentium silver for some years until I stopped using it June 2020. I have recently contacted Argentium International again to ask for updates regarding their use of recycled silver in the manufacturing process of Argentium silver. I was pleased to find out that out of the three manufacturers of this metal (listed below), two are now committed to using 100% recycled silver in their manufacturing process, whilst the third is largely using recycled silver. The three companies are:
LEGOR GROUP: https://legor.com/en/company/
They state the following on their website: “To ensure ethical and sustainable production from supplier to end consumer, we have decided to make our products entirely from precious metals from 100% recycled sources and selected non-precious metals from recycled sources, and to have this fact certified.” https://legor.com/en/care/
BAUER WALSER: https://www.bauer-walser.com/products/precious-metal-semi-finished-products/argentium-silver
This company simply states that: “Argentium is environmentally friendly because no chemicals are needed to strip it.
It is made from recycled silver.”
Both companies, Legor and Bauer Walser, are certified by the Responsible Jewellery Council.
GSM METALS: http://www.gsmmetals.com/eco-friendly-metal.html
This company states on their website: “Commitment to environmental protection and sustainable development is a core business value at GSM. As a standard practice, GSM strives to recycle as much internal clean scrap as possible. When virgin metal is required, GSM utilizes material from Kennecott Utah Copper and the Royal Canadian Mint. Both sources are well-known for their ethical, environmentally friendly refining and mining processes.” (See the above link for this quote.)
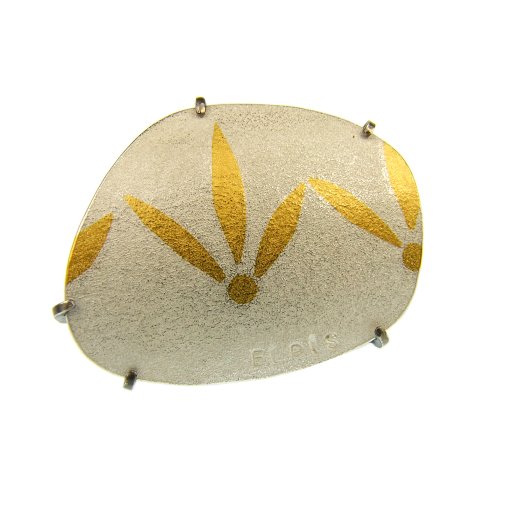
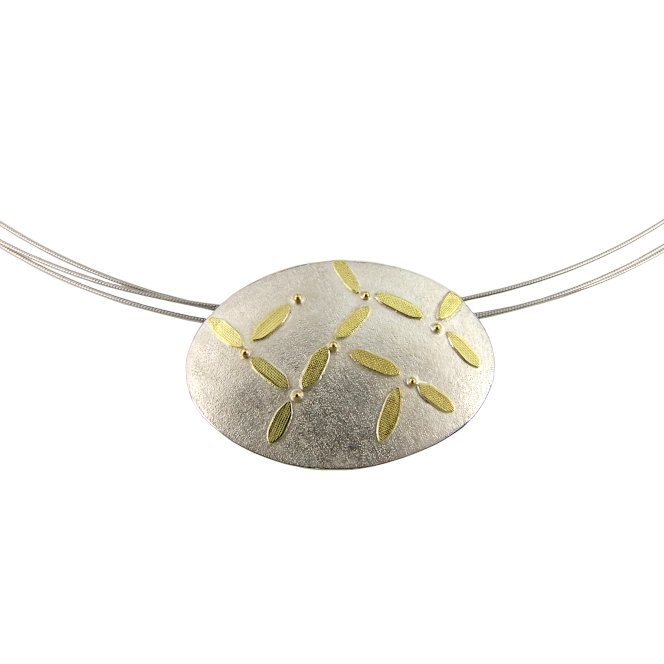
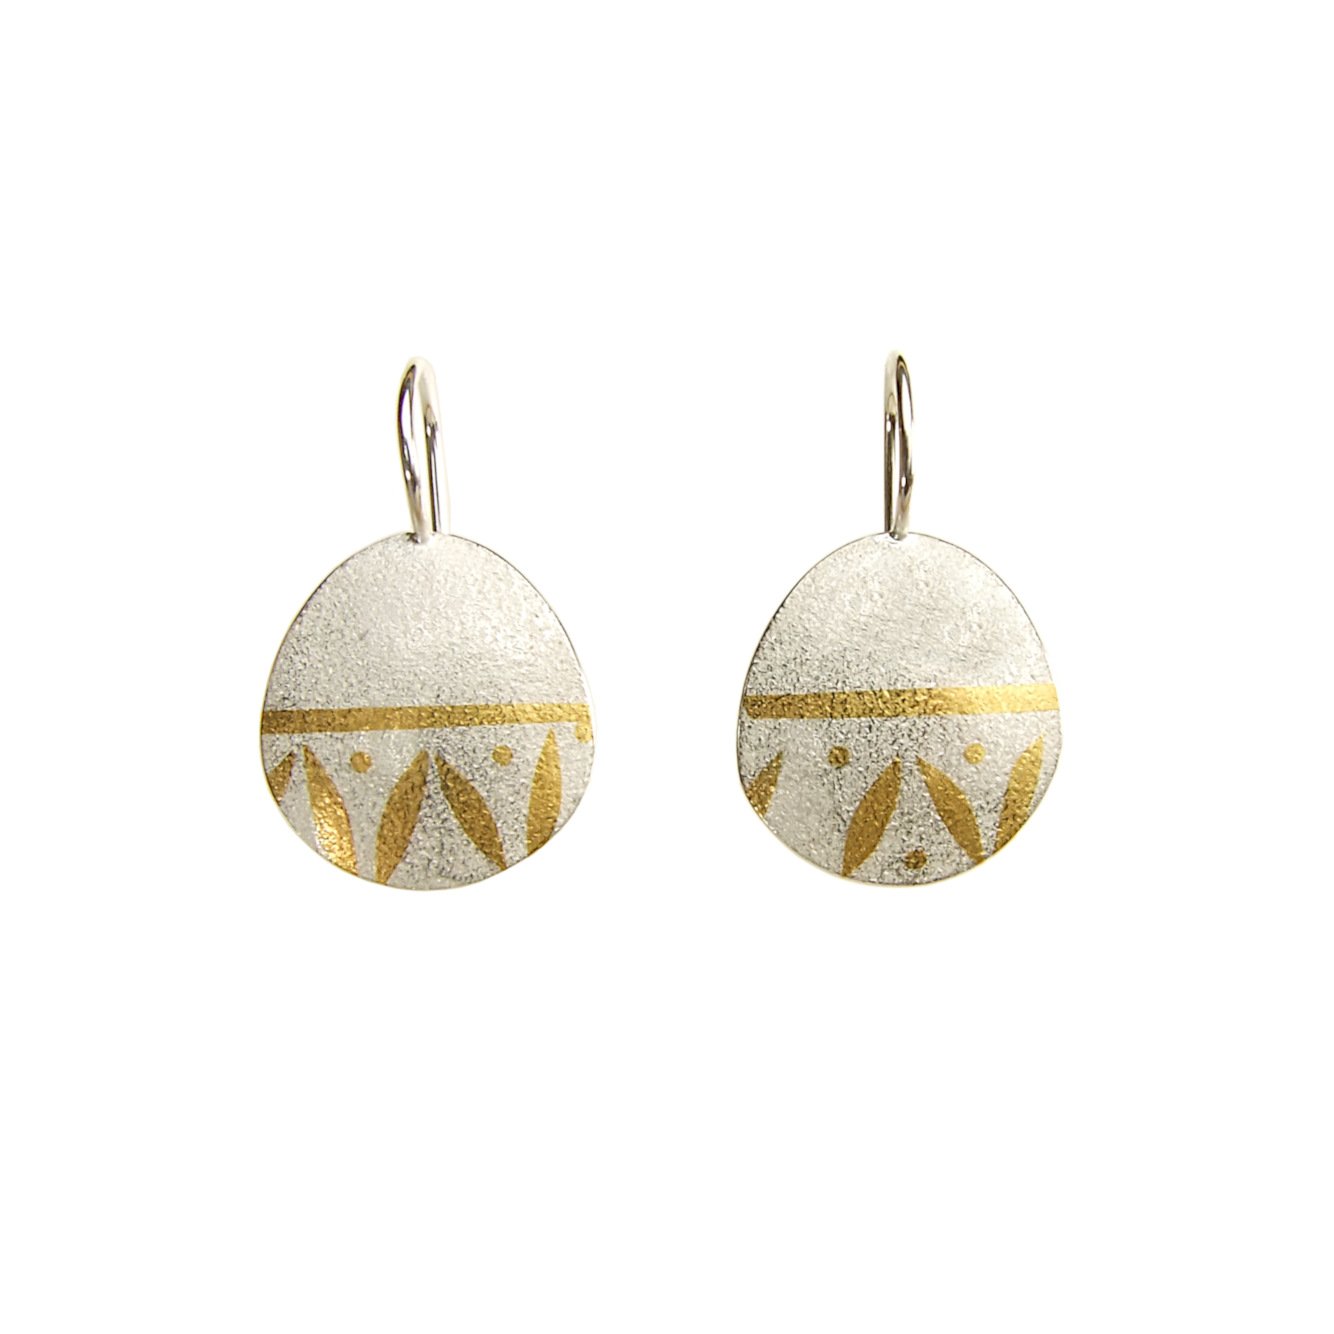
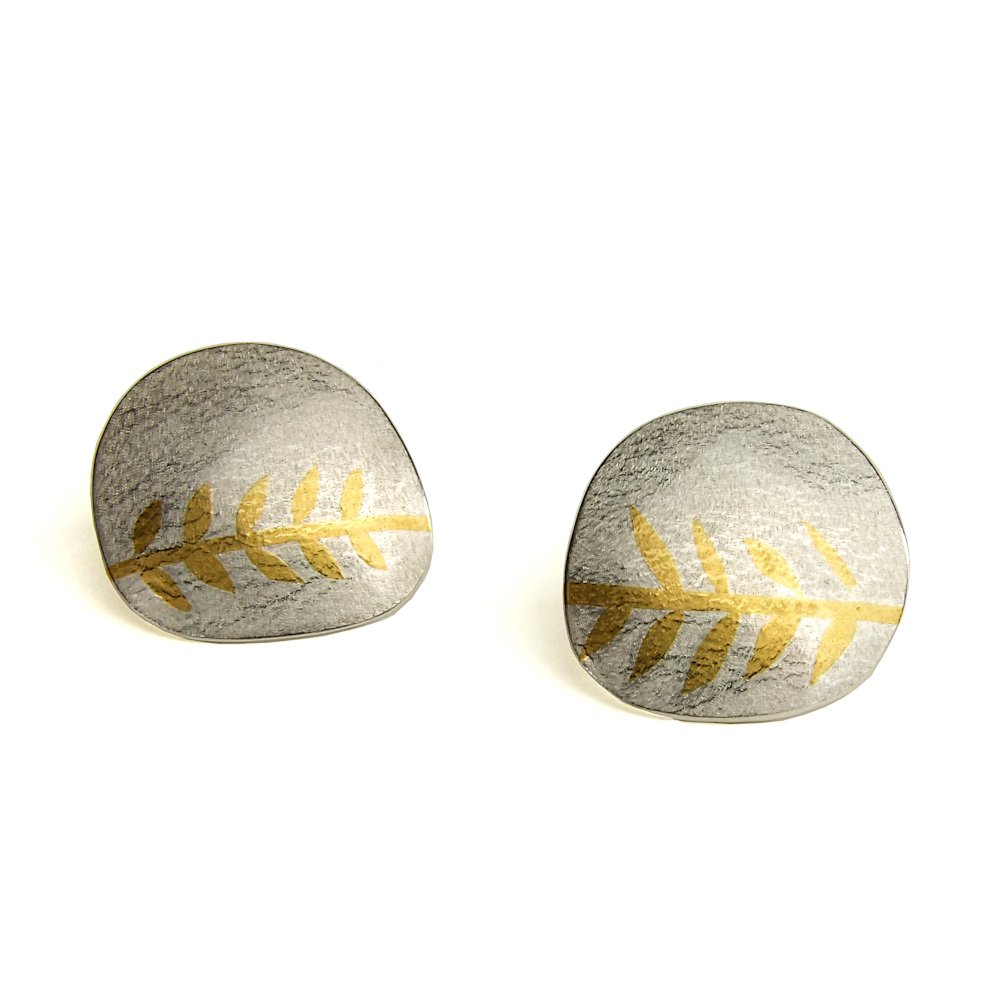
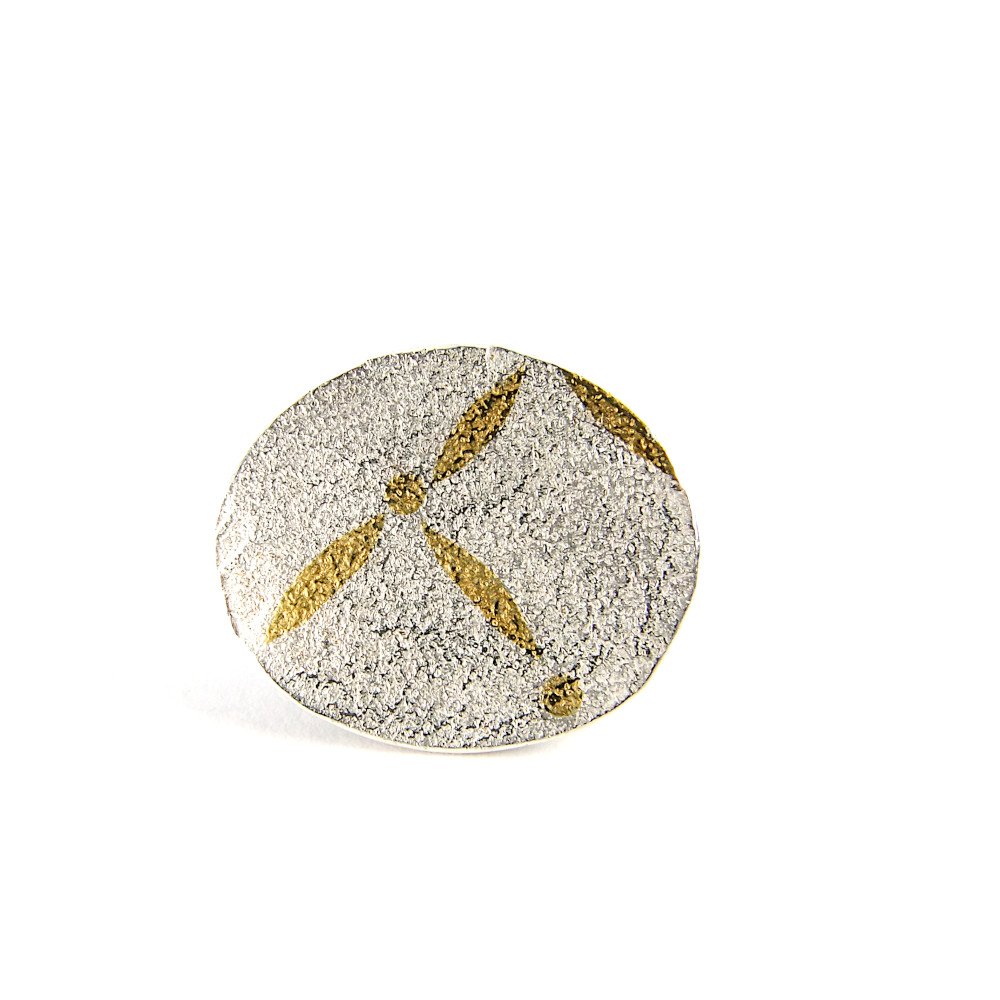
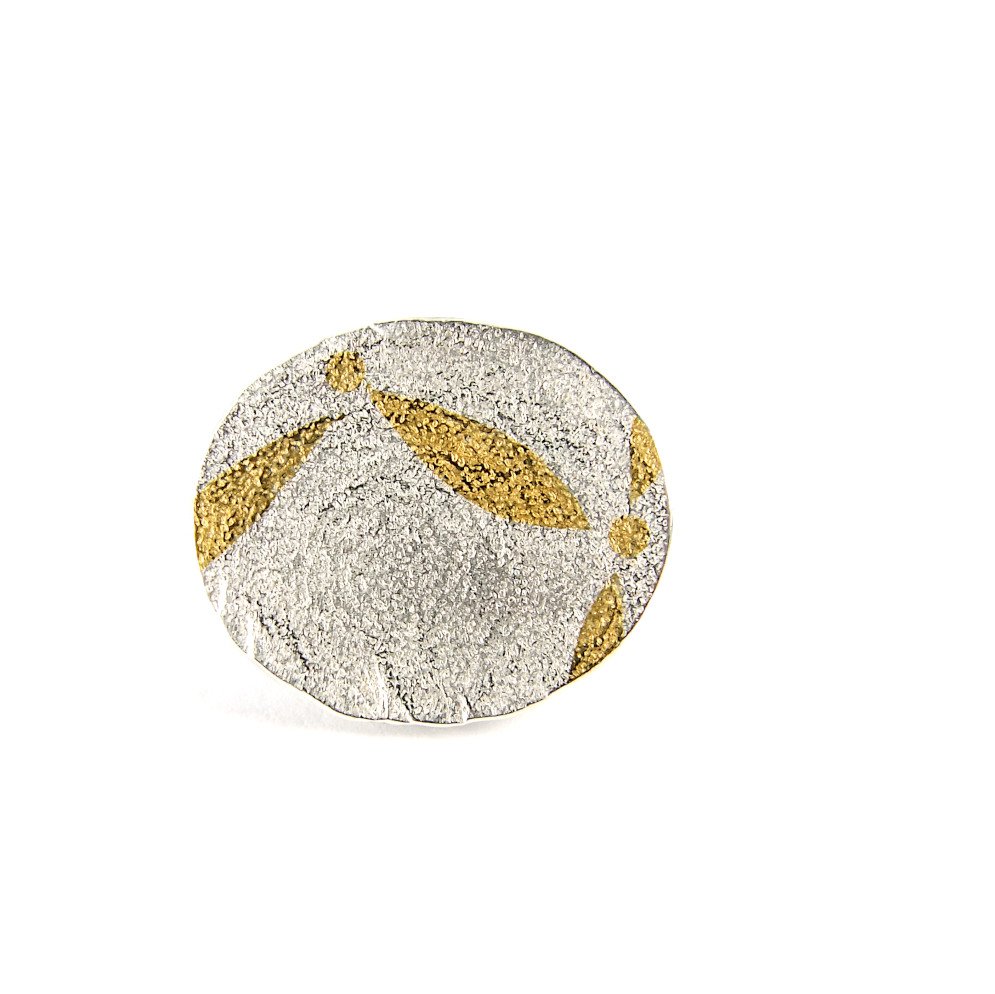
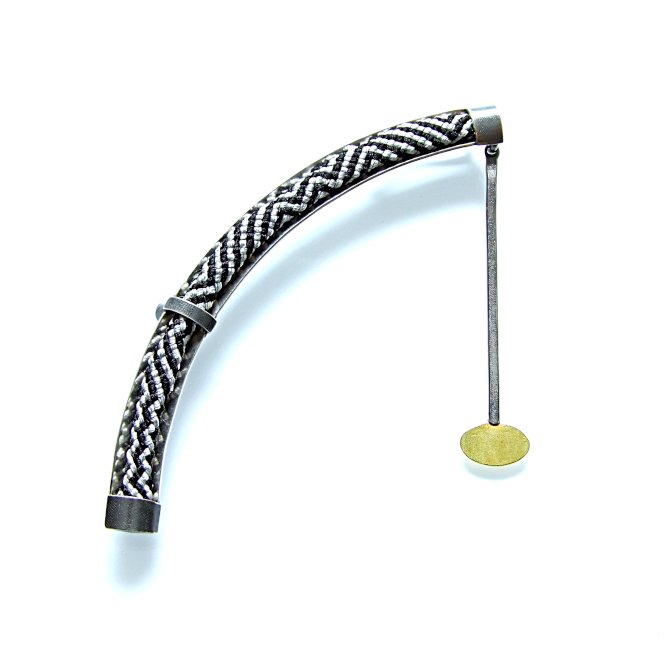
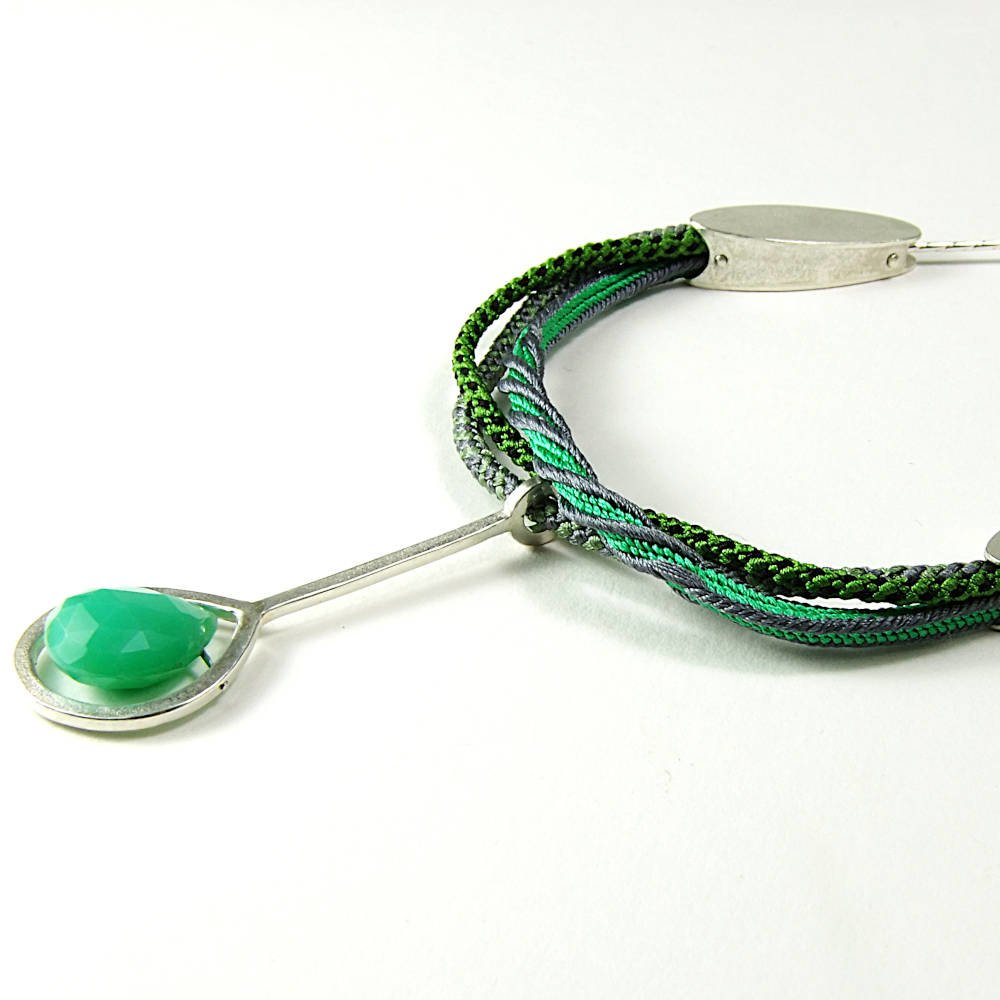
Given the above, I am more confident about the sourcing of Argentium silver and have decided to use it again in my work, alongside recycled Sterling silver and Single Mine Origin (SMO) gold.
News - New Argentium Silver Alloy: During my research I was also excited to find out that the company have developed a new Argentium silver alloy. Argentium 940 “addresses the matter of heat distortion at higher temperatures” and I am looking forward to trying out the new material. For more information on Argentium silver and it its advantages compared to Sterling Silver, please click here or go to https://www.argentiumsilver.com/